





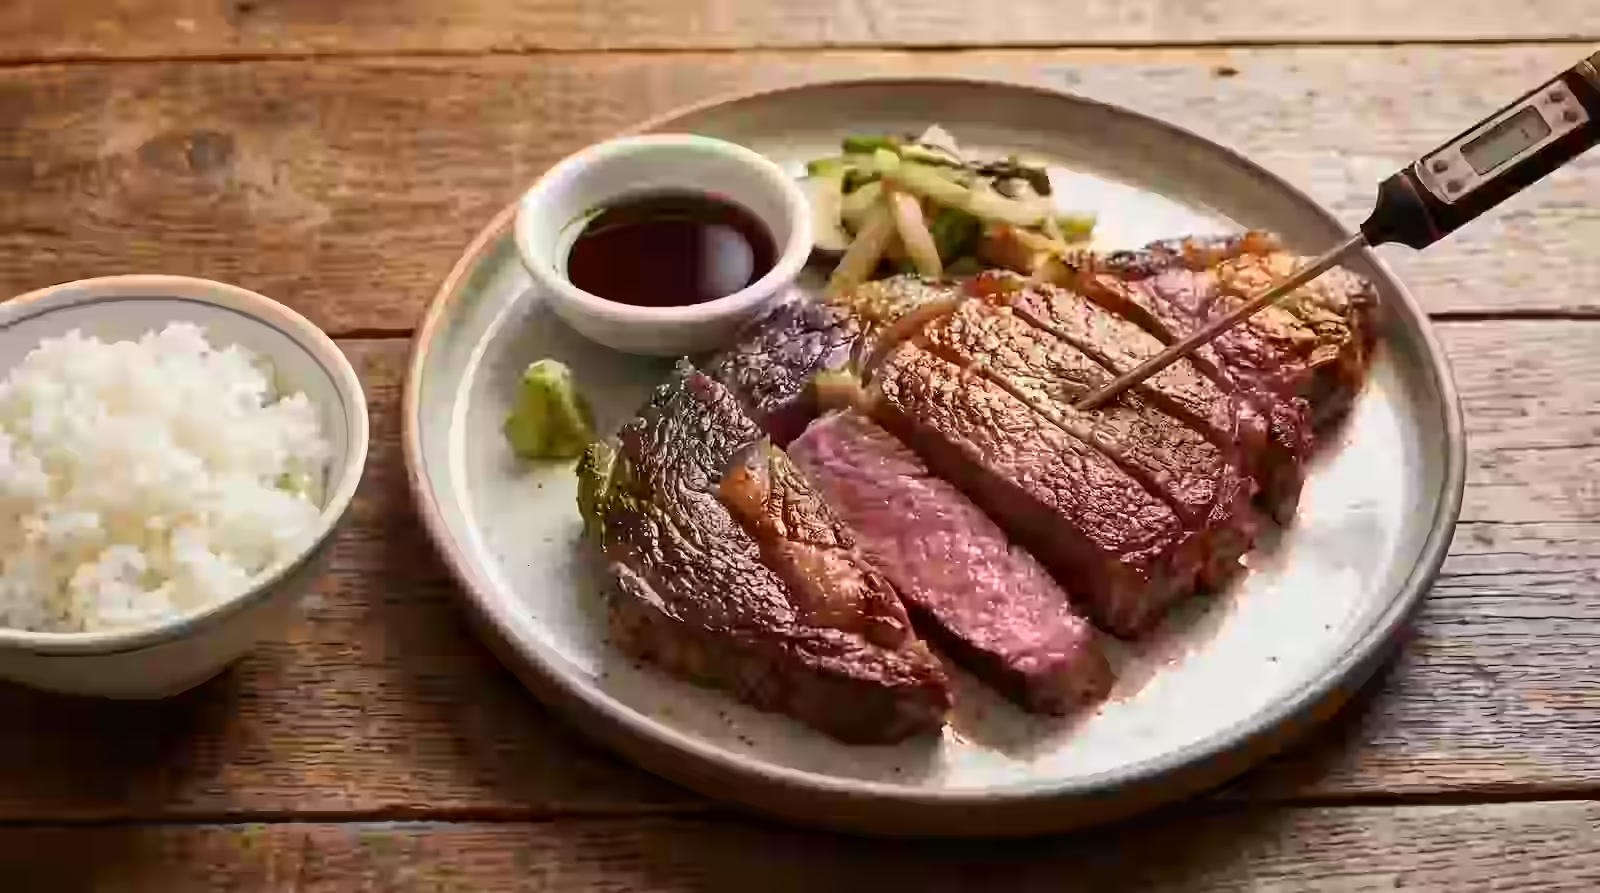
A deeply browned crust, tender slices of beef, a touch of wasabi, and a bowl of steamed rice can turn a simple steak into a satisfying Japanese-inspired dinner. The key is not an elaborate marinade. It is controlling the heat well enough to brown the surface without taking the center beyond your preferred level of doneness.
A meat thermometer makes that balance easier to manage because it measures the steak itself rather than relying only on cooking time, color, or touch.
This article was produced in collaboration with Typhur, which makes instant-read and wireless cooking thermometers. The same temperature-checking principles apply to any properly calibrated food thermometer.
Serves: 2
Preparation time: 15 minutes, excluding optional advance salting
Cooking time: Approximately 8 to 15 minutes, depending on thickness and desired doneness
Resting time: About 5 minutes
What Does “Japanese-Style Steak” Mean?
In this guide, “Japanese-style steak” refers to a simply seasoned steak served with Japanese accompaniments such as wasabi, grated daikon, ponzu, rice, and lightly cooked vegetables. It takes inspiration from Japanese teppanyaki and steakhouse presentation, but it is adapted for a home skillet rather than presented as a traditional restaurant recipe.
The term is a broad descriptive label, not the name of one standardized Japanese dish. It may refer to teppanyaki steak, Japanese steakhouse preparations, or Western-style steak served with Japanese sauces and condiments.
Teppanyaki, literally “cooking on an iron plate,” is a method in which meat, seafood, vegetables, and other ingredients are cooked on a flat metal griddle. It does not refer to a particular breed, cut, or grade of beef. A heavy skillet cannot reproduce the full teppanyaki restaurant experience, but it can provide the concentrated surface heat needed for effective browning at home.
Rather than covering the steak with a thick glaze, the idea is to serve seasonings alongside it. Try one bite with salt, another with wasabi, and another dipped lightly into a soy-based sauce. For a deeper look at the cooking style behind this dish, read our guide to the differences between teppanyaki, hibachi, and other Japanese grilling traditions.
Ingredients
For 2 servings:
- 1 boneless ribeye or strip steak, about 1 to 1½ inches (2.5 to 4 cm) thick
- Salt
- 1 to 2 teaspoons neutral cooking oil
- Steamed Japanese short-grain rice
- Wasabi, freshly grated if available, or prepared wasabi paste
- Grated daikon (optional)
- Ponzu (optional)
- Sautéed mushrooms, spinach, or seasonal vegetables
For the optional soy-ginger dipping sauce:
- 1 tablespoon Japanese soy sauce
- 1 tablespoon water
- 1 teaspoon unseasoned rice vinegar
- ½ teaspoon finely grated ginger
Equipment
- Cast-iron or heavy stainless-steel skillet
- Tongs
- Instant-read thermometer or a suitable wireless probe thermometer
- Warm plate, or a wire rack and tray
- Sharp slicing knife
Choosing the Right Steak
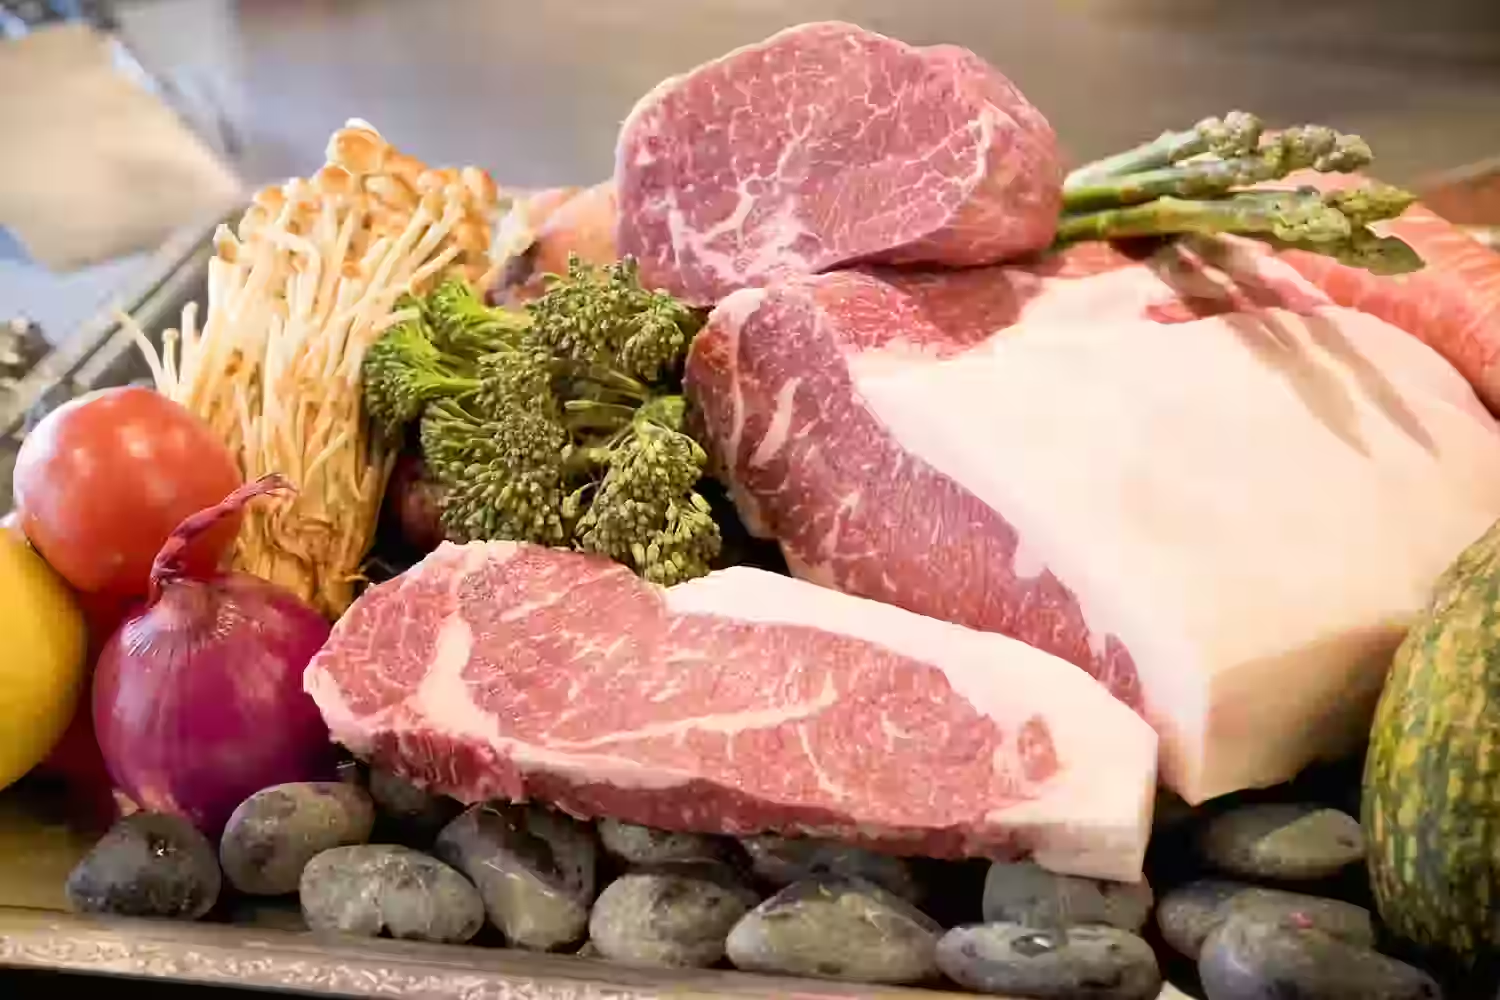
For a first attempt, choose a boneless ribeye or strip steak about 1 to 1½ inches thick. Look for fine streaks of fat within the meat rather than judging it only by the thick strip of fat around the edge. A thicker steak gives you more room to develop browning before the center reaches your intended doneness.
Check the packaging as well. Some steaks are mechanically tenderized, which matters for food safety. More on that in the safety section below.
A Note About Japanese A5 Wagyu
Important: The cooking sequence below is designed for a conventional steak approximately 1 to 1½ inches thick, not a thin slice of Japanese A5 Wagyu.
This guide is primarily intended for a conventional ribeye or strip steak. Japanese A5 Wagyu should not be treated as a direct substitute. Its intense marbling, richness, and typical serving size call for smaller portions, gentler heat control, and shorter cooking intervals. If you are preparing Japanese Wagyu, follow the producer’s or butcher’s instructions for the specific cut and thickness. To learn more about the beef itself, see our Wagyu article.
Prepare the Rice, Sauce, and Accompaniments
Get everything else ready before the pan goes on the heat. Cook the rice, prepare the vegetables, mix the dipping sauce, and set out your plates. This lets you concentrate on the steak rather than chopping garnishes while the skillet is hot.
For the sauce, combine the soy sauce, water, rice vinegar, and ginger from the ingredient list. This makes a small amount, enough for about two servings. Taste it before serving, because the saltiness of soy sauce varies by brand. Add a little more water for a milder sauce, or a few drops of rice vinegar for more acidity.
Dry and Season the Steak
Pat the steak thoroughly dry with paper towels. Surface moisture must evaporate before effective browning can take place, so drying the meat is more useful than leaving it on the counter in an attempt to bring the center to room temperature.
Season with salt immediately before cooking. Alternatively, salt the steak at least 45 minutes ahead and refrigerate it uncovered on a rack, then blot away any remaining surface moisture before searing. Keep wet sauces separate. The goal is to brown the beef first and add the Japanese-inspired flavors when serving.
How to Pan-Sear the Steak
Here is the full sequence in one place, so you can follow it at the stove.
- Prepare the accompaniments. Cook the rice, prepare the vegetables, and mix any dipping sauce before heating the pan.
- Dry and season the steak. Pat the surface thoroughly dry. Season with salt immediately before cooking, or salt it in advance and refrigerate it uncovered on a rack.
- Preheat the skillet. Heat a cast-iron or heavy stainless-steel skillet over medium-high heat. Add a thin film of neutral oil.
- Begin searing. Place the steak in the pan and cook until the first side begins to develop an even brown crust.
- Turn regularly. Flip the steak and continue cooking, turning at short intervals. Use tongs to brown the fat cap and edges where appropriate.
- Reduce the heat when necessary. If the surface is becoming dark before the center is close to the target temperature, lower the heat.
- Check the center. Insert an instant-read thermometer horizontally into the thickest part of the steak, avoiding bone and large pockets of fat.
- Remove and rest. Transfer the steak to a warm plate or rack when it reaches the appropriate temperature for your chosen safety and doneness standard.
- Slice and serve. Rest for about five minutes, then slice across the grain and serve with rice and your chosen accompaniments.
The useful distinction is between browning the surface and finishing the center. Once the crust looks right, more aggressive heat is not automatically better. Lowering the heat gives you more control over the remaining temperature rise. Stay at the stove during searing, even when using a thermometer with alerts.
How to Check the Internal Temperature
A steak’s browned exterior does not tell you its internal temperature, so use a thermometer rather than relying on appearance or the firmness of the meat.
For a steak about 1 inch thick, take the first temperature reading early, after the steak has browned on both sides. Depending on the pan and burner, this may be approximately 3 to 4 minutes after the steak first enters the pan. Treat this only as a checkpoint, not as a predicted finishing time. Continue in short intervals, checking again as the temperature approaches your chosen endpoint.
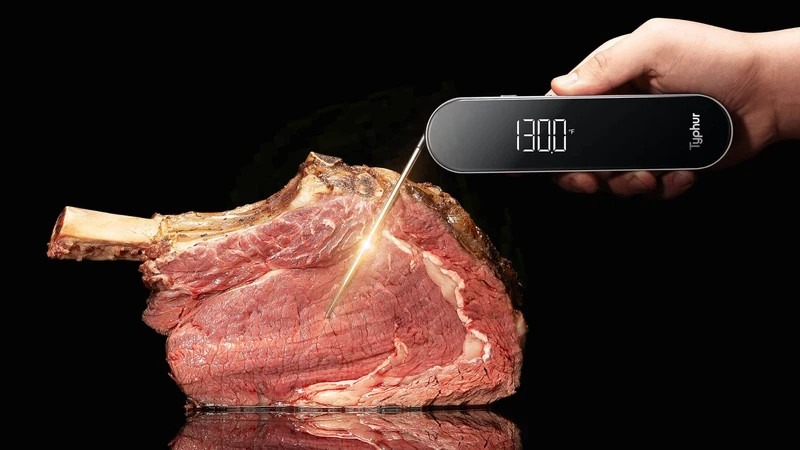
Insert an instant-read probe horizontally from the side so that the sensor reaches the center of the thickest section. Move the probe slowly through the center and use the lowest stable reading. Avoid large fat seams, bone, and direct contact with the pan.
A wireless probe must be inserted beyond the manufacturer’s minimum insertion mark. Do not use it in a steak that is too thin to hold the probe correctly.
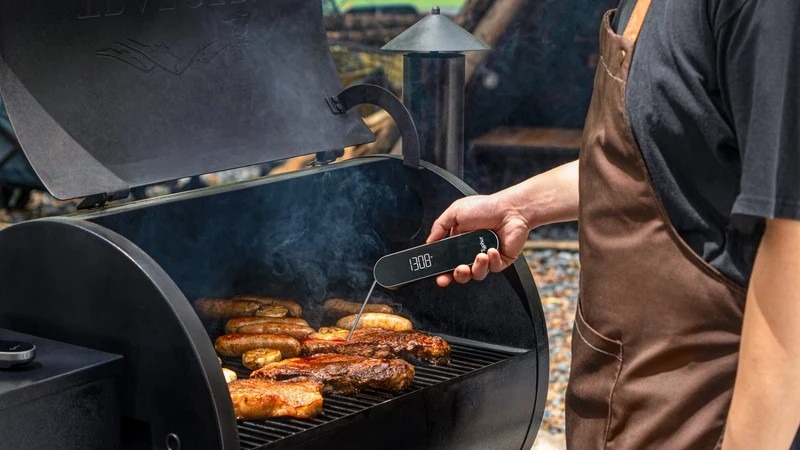
For steaks thick enough to accommodate a leave-in probe safely, a wireless thermometer such as the Typhur Sync Gold Dual can track changes in internal temperature throughout cooking. For thinner steaks, an instant-read thermometer is often more practical because a wireless probe may not reach its required insertion depth. Refer to the current manufacturer’s manual for the probe’s operating limits.
Doneness and Food-Safety Guidance
These are common culinary reference points, not universally standardized definitions. They describe preferred texture and color, not guaranteed food safety. They are also finished internal temperatures, not automatic instructions for when to remove the steak from the pan.
| Doneness preference | Approximate finished center temperature |
| Rare | 120 to 125°F / 49 to 52°C |
| Medium-rare | 130 to 135°F / 54 to 57°C |
| Medium | 140 to 145°F / 60 to 63°C |
| Medium-well | 150 to 155°F / 66 to 68°C |
| Well-done | 160°F / 71°C or above |
Food-safety note: USDA guidance for whole beef steaks recommends a minimum internal temperature of 145°F (63°C), followed by a rest of at least three minutes. Temperatures commonly described as rare or medium-rare are below that recommendation. People who are pregnant, very young, older, or immunocompromised should avoid undercooked meat.
Check for mechanical tenderizing: Check the packaging to determine whether the steak has been mechanically tenderized. Mechanically tenderized beef requires particular care because bacteria from the surface may be carried into the interior. Follow the package’s cooking instructions and applicable food-safety guidance rather than treating it exactly like an intact steak.
Carryover Cooking and Resting
The center may continue to warm after the steak leaves the pan because heat moves inward from the hotter exterior. This is known as carryover cooking. The amount varies with the steak’s thickness, cooking method, pan temperature, and resting conditions.
If you are cooking according to USDA guidance, do not remove the steak below 145°F (63°C) on the assumption that carryover heat will eventually take it to the recommended minimum. If you are using a lower culinary target, understand that the result falls below USDA guidance.
For a pan-seared steak about 1 to 1½ inches thick, rest it for approximately five minutes before slicing. A very thin steak may need less time, while a thicker cut may benefit from a longer rest. Transfer it to a warm plate or a rack over a tray rather than leaving it in the hot skillet, and avoid wrapping it tightly in foil, since trapped steam can soften the crust you just built.
Treat resting as part of your serving sequence, not a way to repair overcooked meat. Use those minutes to plate the rice, finish the vegetables, and bring everything to the table.
Slice Across the Grain
Before slicing, look for the direction in which the visible muscle fibers run. Cut perpendicular to those lines rather than parallel to them. This shortens the fibers and makes the steak easier to chew. Cut pieces that are comfortable to eat with chopsticks, and arrange the slices beside the accompaniments rather than soaking the whole steak in sauce.
Three Ways to Serve Japanese-Style Steak
You do not need every accompaniment below. Choose one or two so the beef stays the focus.
1. Wasabi and salt. A minimalist pairing that keeps attention on the beef. Serve a small amount of freshly grated wasabi if available. Prepared wasabi paste also works for a more accessible home version. Add a pinch of flaky salt and a bowl of steamed Japanese short-grain rice, plus sautéed mushrooms or greens. Our guides to wasabi and Japanese rice cover both in more detail.
2. Daikon oroshi and ponzu. A lighter, sharper accompaniment that balances fatty beef. Gently squeeze excess liquid from the grated daikon so it does not leave a puddle beneath the steak, and keep the ponzu in a small dipping dish.
3. Soy-ginger dip with a teppan-style side. Serve the dipping sauce from the recipe above, along with moyashi (bean sprouts), mushrooms, or seasonal vegetables cooked in the same skillet. Garlic chips or a little Japanese mustard are other options often seen in steakhouse-style presentations. Treat them as optional extras, not requirements.
These are home-style serving ideas, not a complete list of traditional steak sauces.
Final Tips
Japanese-inspired steak does not require A5 Wagyu or a restaurant-style teppan. Start with a well-marbled ribeye or strip steak, keep the surface dry, control the heat, and use temperature rather than time alone to judge the center. After a brief rest, slice the steak across the grain and serve it with rice and one or two simple accompaniments, such as wasabi and salt or grated daikon with ponzu.
References
- USDA Food Safety and Inspection Service, safe minimum internal temperature guidance for whole cuts of beef (fsis.usda.gov)
- Typhur, Sync Gold Dual product page and current product manual (typhur.com)








Comments